OpenClaw Integration Guide
Learn how to install and configure OpenClaw, an open-source personal AI assistant and agent gateway, to work seamlessly with ValueAPI models.
Due to OpenClaw's design mechanism, it consumes a large amount of Tokens. Using ValueAPI can save your costs by up to 78%!
What is OpenClaw?
OpenClaw is an open-source personal AI assistant that supports local or remote deployment. It acts as an AI agent gateway for any operating system, supporting platforms like WhatsApp, Telegram, Discord, iMessage, Feishu, QQ, DingTalk, and more. It runs directly in your favorite chat apps, allowing you to send messages and get agent responses anytime, anywhere.
Step 1: Install OpenClaw
We highly recommend using the automated installation script.
macOS / Linux
1. Run the following command in your terminal to automatically install OpenClaw:
curl -fsSL https://openclaw.ai/install.sh | bash
2. Verify that OpenClaw was installed successfully:
openclaw --versionStep 2: Configure OpenClaw
Start the interactive configuration wizard by running:
openclaw onboard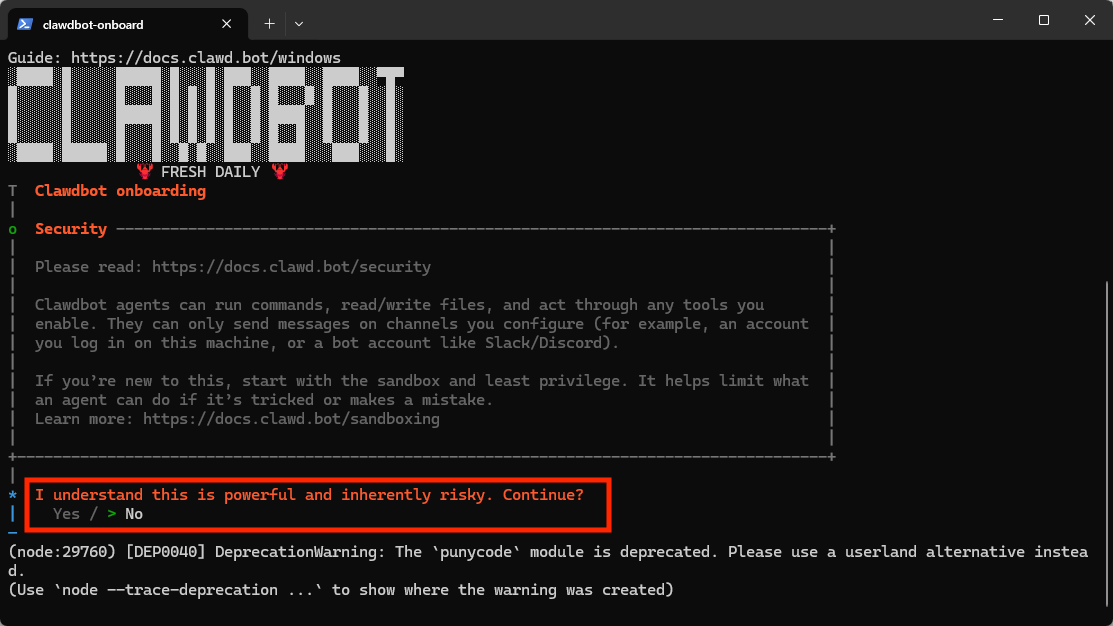
1. Choose "QuickStart" to begin.

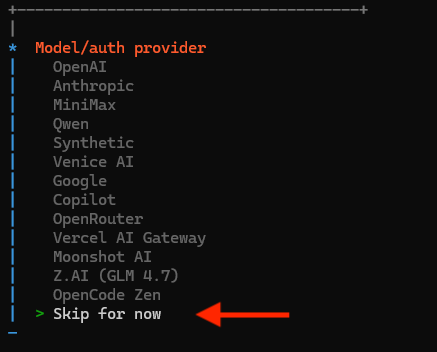
2. Choose "Skip for now" for the initial setup.
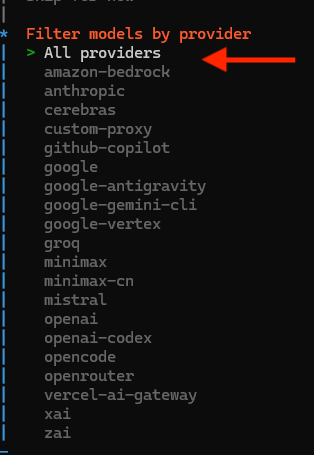
3. Select "All providers" when asked about AI providers.
4. Choose "Keep current" for the default model.

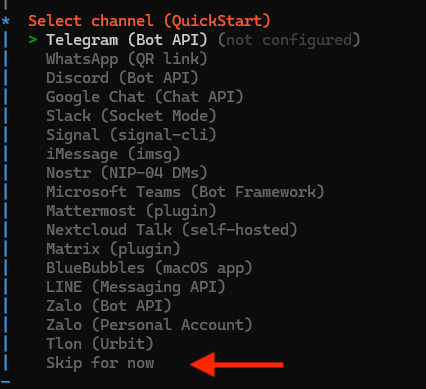
5. For chat tools integration, you can also select "Skip for now".
6. When configuring Skills, you can "Skip for now", or use the Spacebar to select and Enter to confirm.
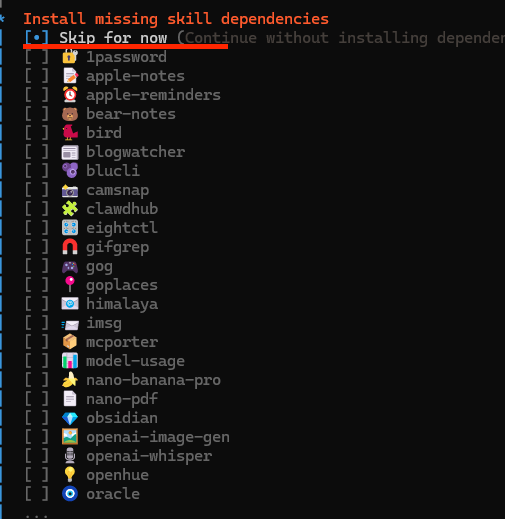
7. We recommend selecting all three options shown above.

Gateway Interface
OpenClaw will automatically open the gateway interface in your default browser. If the gateway does not start automatically, you can launch it manually using the command: openclaw gateway.
Step 3: Connect ValueAPI
1. Obtain your API Key
Log in to the ValueAPI Dashboard, navigate to the API Keys section, and generate a new key.
2. Edit openclaw.json
After installation, an openclaw.json file is created in the OpenClaw directory. You can open this directory directly from your terminal:
open ~/.openclawImportant: Claude Model Caching
In the configuration below, the api type for Claude models must be set to anthropic-messages to support prompt caching. If you use the openai-completions interface, caching will not be supported.
Open the openclaw.json file and update it with your ValueAPI settings. You can copy the code below and replace the apiKey with your actual key:
{
"agents": {
"defaults": {
"model": {
"primary": "valueapi/claude-sonnet-4-6"
},
"models": {
"valueapi/claude-sonnet-4-6": {},
"valueapi/claude-opus-4-6": {}
}
}
},
"models": {
"mode": "merge",
"providers": {
"valueapi": {
"baseUrl": "https://api.valueapi.ai/v1",
"apiKey": "sk-YOUR_VALUEAPI_KEY",
// Use "anthropic-messages" for Claude models to enable caching
"api": "anthropic-messages",
"models": [
{
"id": "claude-sonnet-4-6",
"name": "claude-sonnet-4-6",
"reasoning": false,
"input": ["text"],
"cost": { "input": 0, "output": 0, "cacheRead": 0, "cacheWrite": 0 },
"contextWindow": 128000,
"maxTokens": 62000
},
{
"id": "claude-opus-4-6",
"name": "claude-opus-4-6",
"reasoning": true,
"input": ["text"],
"cost": { "input": 0, "output": 0, "cacheRead": 0, "cacheWrite": 0 },
"contextWindow": 128000,
"maxTokens": 62000
}
]
}
}
}
}
Optional: Telegram Bot Configuration
If you want to configure a Telegram bot, you can add the following channels block to your openclaw.json file:
"channels": {
"telegram": {
"enabled": true,
"dmPolicy": "pairing",
"botToken": "YOUR_TELEGRAM_BOT_TOKEN",
"groupPolicy": "allowlist",
"streaming": "partial",
// If you don't use groups, you can delete this "groups" block
"groups": {
"YOUR_GROUP_ID": {
"requireMention": false,
"groupPolicy": "open",
"tools": {
"alsoAllow": ["browser"]
}
}
},
"streamMode": "partial"
}
}
Step 4: Restart and Verify
Save the openclaw.json file and restart the OpenClaw gateway in your terminal:
openclaw gateway restartYou should now see the configured OpenClaw gateway interface in your browser:
🎉 Setup Complete!
You have successfully installed OpenClaw and configured it to use ValueAPI.